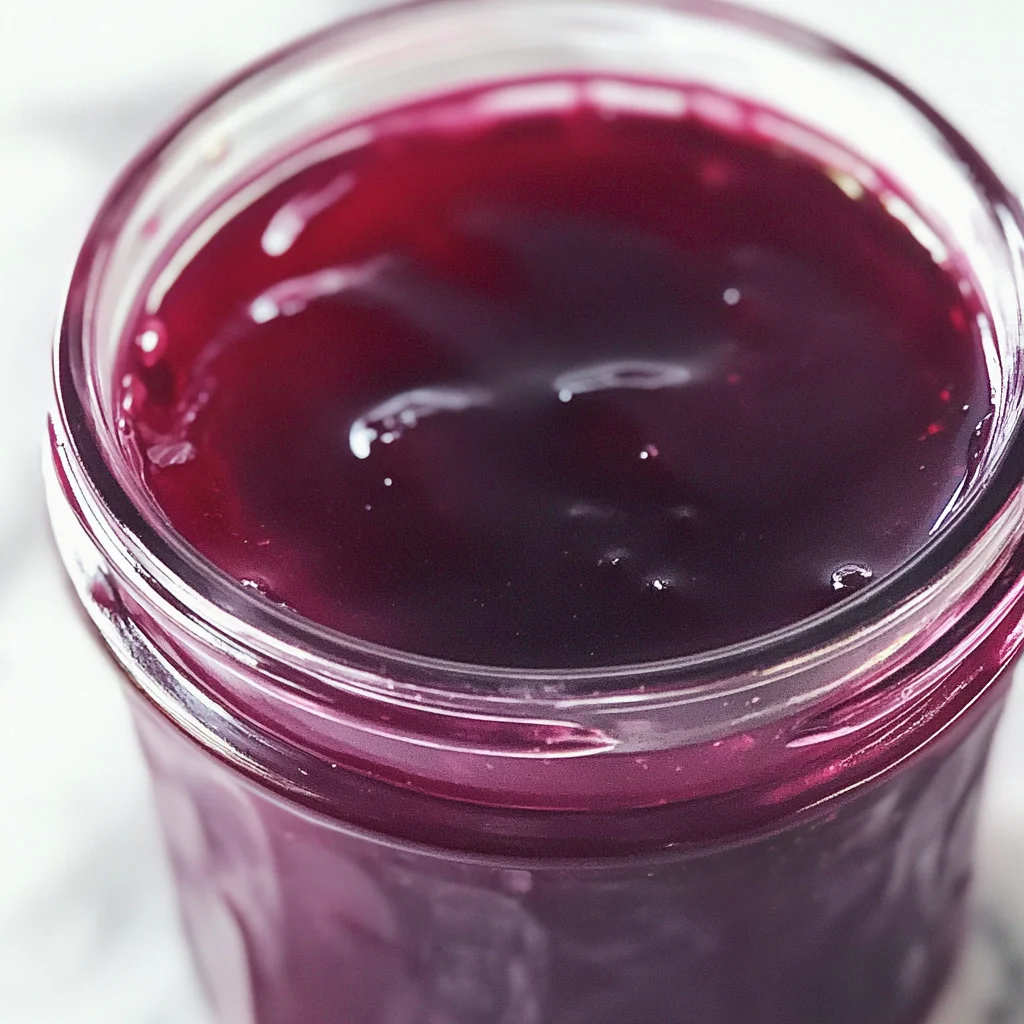
Homemade Plum Jelly
Learn how to make delicious homemade plum jelly with just a few simple ingredients! This delightful spread is perfect for breakfast, snacks, or desserts, adding a burst of fruity flavor to your meals. Whether you’re spreading it on toast, using it in recipes, or giving it as a gift, this homemade plum jelly is sure to impress. Plus, it’s an excellent way to preserve seasonal plums and enjoy their taste all year round.
Why You’ll Love This Recipe
- Easy to Make: With just a few ingredients and straightforward steps, anyone can create this delicious jelly.
- Flavorful: The natural sweetness and tartness of ripe plums make every spoonful a delight.
- Versatile Use: Perfect as a spread on bread, a topping for desserts, or an ingredient in various recipes.
- Preserves Seasonal Fruits: Enjoy the taste of summer plums all year long by preserving them in this jelly.
- Customizable Sweetness: Adjust the sugar levels according to your preference—great for those looking for healthier options.
Tools and Preparation
Before you get started with making your homemade plum jelly, ensure you have the right tools on hand. This will make the process smoother and more enjoyable.
Essential Tools and Equipment
- Large stockpot
- Colander
- Fine mesh strainer or cheesecloth
- Metal spoon
- Clean jars for storage
- Ladle
Importance of Each Tool
- Large stockpot: Necessary for boiling the plums and cooking the jelly mixture evenly.
- Colander: Helps strain the juice while allowing solid fruit pieces to be removed efficiently.
- Fine mesh strainer or cheesecloth: Ensures that you get clear juice without any pulp remaining.
- Ladle: Perfect for transferring hot jelly into jars without spills.
Ingredients
Here’s what you’ll need to make your own scrumptious homemade plum jelly:
- 5 pounds ripe plums
- 1-1/2 cups water
- 1 (1.75 ounce) box fruit pectin
- 1 tablespoon unsalted butter
- 6-1/2 cups granulated sugar
How to Make Homemade Plum Jelly
Step 1: Prepare the Plums
- Slice the plums in half and remove and discard the pits. Don’t bother peeling the plums.
- Place the plums into a large stockpot. Add the water.
Step 2: Cook the Plums
- Bring the pot to a boil, then cover it and simmer over medium heat for about 10 minutes.
Step 3: Strain the Juice
- Strain the juice by pouring it first through a colander.
- Then pour it through a fine mesh strainer or line a colander with several layers of cheesecloth.
- Allow the fruit to drain for at least 30 minutes before discarding any solids.
Step 4: Combine Ingredients
- You should have about 5 ½ cups of plum juice. Pour this juice back into the pot.
- Add one box of pectin and the butter.
Step 5: Boil the Mixture
- Bring the mixture to a hard rolling boil.
Step 6: Add Sugar
- Add the sugar. Continue to boil the jelly for one minute.
- Remove the pot from heat and skim any foam from the top with a metal spoon.
Step 7: Jar Your Jelly
- Ladle the jelly into clean jars while it’s still hot.
- Store your homemade plum jelly in the fridge, where it can last up to six months.
This recipe yields approximately six 8-ounce jars of delightful homemade plum jelly that will surely brighten your meals! Enjoy crafting this beautiful treat that celebrates seasonal flavors!
How to Serve Homemade Plum Jelly
Homemade plum jelly is a delightful addition to any meal, offering a sweet and tangy flavor that complements many dishes. Here are some creative serving suggestions to enjoy your homemade plum jelly.
Spread on Toast
- Toasted bread or bagels topped with a generous layer of homemade plum jelly makes for a simple yet delicious breakfast or snack.
Pair with Cheese
- Serve your plum jelly alongside a cheese platter. The sweetness pairs beautifully with creamy cheeses like brie or sharp cheeses like cheddar.
Glaze for Meats
- Use homemade plum jelly as a glaze for roasted chicken or turkey. Brush it on during the last few minutes of cooking for a glossy finish.
Accentuate Pancakes or Waffles
- Drizzle plum jelly over pancakes or waffles instead of syrup for a fruity twist that adds unique flavor to your breakfast.
Swirl into Yogurt
- Stir in some plum jelly into plain yogurt for an easy and flavorful snack or dessert that balances creaminess with sweetness.
Add to Salads
- Create a refreshing salad dressing by mixing plum jelly with vinegar and olive oil. This adds a fruity note to green salads.
How to Perfect Homemade Plum Jelly
To achieve the best results when making homemade plum jelly, consider the following tips:
- Use ripe plums: Choose plums that are fully ripe for the sweetest flavor and best juice extraction.
- Measure accurately: Ensure you measure both the juice and sugar correctly for proper gelling.
- Don’t skip the pectin: The fruit pectin is essential for achieving the right consistency; make sure to use it as directed.
- Skim foam: Remove any foam after boiling to ensure a clear and beautiful jelly.
- Cool jars properly: Allow jars to cool completely before sealing to create a proper vacuum seal.
- Store properly: Keep your homemade plum jelly in sterilized jars in the refrigerator for up to six months.
Best Side Dishes for Homemade Plum Jelly
Homemade plum jelly can complement various side dishes, enhancing their flavors. Here are some excellent options:
-
Grilled Chicken Salad
A light salad featuring grilled chicken, mixed greens, and fresh vegetables pairs well with the sweetness of plum jelly as dressing. -
Cheese Platter
An assortment of cheeses, nuts, and fruits provides a perfect balance when enjoyed with sweet plum jelly. -
Roasted Vegetables
Roasted carrots, beets, or Brussels sprouts drizzled with balsamic vinegar work wonderfully alongside plum jelly as an accompaniment. -
Savory Muffins
Warm cornbread or savory muffins can be served with a dollop of homemade plum jelly for added flavor. -
Rice Pilaf
A fragrant rice pilaf can be enhanced by spooning some plum jelly over it just before serving, adding an extra layer of taste. -
Stuffed Peppers
Stuffed bell peppers filled with quinoa, beans, and spices make for a hearty dish that can benefit from the sweet contrast of plum jelly.
Common Mistakes to Avoid
Making homemade plum jelly is simple, but a few common mistakes can lead to less-than-perfect results. Here are some pitfalls to watch out for.
- Bold phrase: Not using ripe plums. Using unripe or overripe plums can affect the flavor and consistency of your jelly. Choose plums that are sweet and slightly soft.
- Bold phrase: Skipping the pectin. Pectin is essential for achieving the right jelly texture. Always include it as recommended in the recipe for successful results.
- Bold phrase: Ignoring foam skimming. If you don’t skim off the foam during cooking, it can affect the clarity and appearance of your jelly. Always remember to remove foam with a spoon.
- Bold phrase: Overcooking the jelly. Cooking the jelly for too long can cause it to become thick or hard. Follow cooking times closely for optimal texture.
- Bold phrase: Using improper storage containers. Always use clean, sterilized jars to store your homemade plum jelly. This helps prevent spoilage and ensures freshness.
Storage & Reheating Instructions
Refrigerator Storage
- Store homemade plum jelly in sterilized jars with tight-fitting lids.
- It will last for up to six months when kept in the refrigerator.
Freezing Homemade Plum Jelly
- For longer storage, freeze your jelly in freezer-safe containers.
- It can be frozen for up to one year.
Reheating Homemade Plum Jelly
- Bold phrase: Oven: Preheat your oven to 350°F (175°C) and place the jar of jelly in a water bath to gently warm it up.
- Bold phrase: Microwave: Use a microwave-safe container and heat in short intervals, stirring often until warmed through.
- Bold phrase: Stovetop: Place in a small saucepan over low heat, stirring until melted and heated.
Frequently Asked Questions
Have questions about making homemade plum jelly? Here are some common inquiries answered.
How do I make homemade plum jelly?
To make homemade plum jelly, you’ll need ripe plums, water, pectin, butter, and sugar. Follow the detailed recipe steps above for best results.
Can I reduce sugar in homemade plum jelly?
Yes! You can experiment with honey or other sweeteners if you prefer less sugar. Adjust based on taste while ensuring proper consistency.
What types of plums are best for homemade plum jelly?
Any variety of ripe plums works well! Popular choices include Santa Rosa or Damson plums, known for their rich flavor.
How should I store my homemade plum jelly?
Store your homemade plum jelly in clean jars with tight lids in the refrigerator or freezer, depending on how long you want to keep it fresh.
Can I use a different fruit juice instead of plums?
Absolutely! Many fruits can be used similarly, such as peaches or apricots. Adjust pectin and sugar levels based on fruit sweetness.
Final Thoughts
Homemade plum jelly is not only delicious but versatile too! You can enjoy it on toast, as a topping for desserts, or even as a filling for pastries. Don’t hesitate to customize this recipe by adjusting sweetness or adding spices like cinnamon for a unique twist. Try making your own batch today!
Homemade Plum Jelly

Homemade plum jelly is a delightful way to capture the essence of ripe, seasonal plums. This easy-to-make recipe transforms simple ingredients into a vibrant, fruity spread that’s perfect for breakfast, snacks, or desserts. Imagine spreading this luscious jelly on warm toast or using it as a topping for your favorite desserts, elevating your meals with its sweet and tangy flavor. Not only does it preserve the delicious taste of summer plums year-round, but it also makes for a charming homemade gift. With customizable sweetness options and minimal preparation steps, this homemade plum jelly is sure to impress anyone who tries it!
- Prep Time: 15 minutes
- Cook Time: 20 minutes
- Total Time: 35 minutes
- Yield: Approximately six 8-ounce jars (about 96 servings) 1x
- Category: Dessert
- Method: Canning
- Cuisine: American
Ingredients
- 5 pounds ripe plums
- 1–1/2 cups water
- 1 (1.75 ounce) box fruit pectin
- 1 tablespoon unsalted butter
- 6–1/2 cups granulated sugar
Instructions
- Slice the plums in half and discard the pits. Place them in a large stockpot with water.
- Bring to a boil, cover, and simmer for about 10 minutes.
- Strain the juice through a colander and then through a fine mesh strainer or cheesecloth; let drain for at least 30 minutes.
- Pour about 5-½ cups of the strained juice back into the pot, add pectin and butter.
- Bring to a hard rolling boil.
- Stir in sugar and boil for an additional minute.
- Ladle hot jelly into clean jars and refrigerate.
Nutrition
- Serving Size: 1 tablespoon (20g)
- Calories: 50
- Sugar: 12g
- Sodium: 0mg
- Fat: 0g
- Saturated Fat: 0g
- Unsaturated Fat: 0g
- Trans Fat: 0g
- Carbohydrates: 13g
- Fiber: 0g
- Protein: 0g
- Cholesterol: 0mg