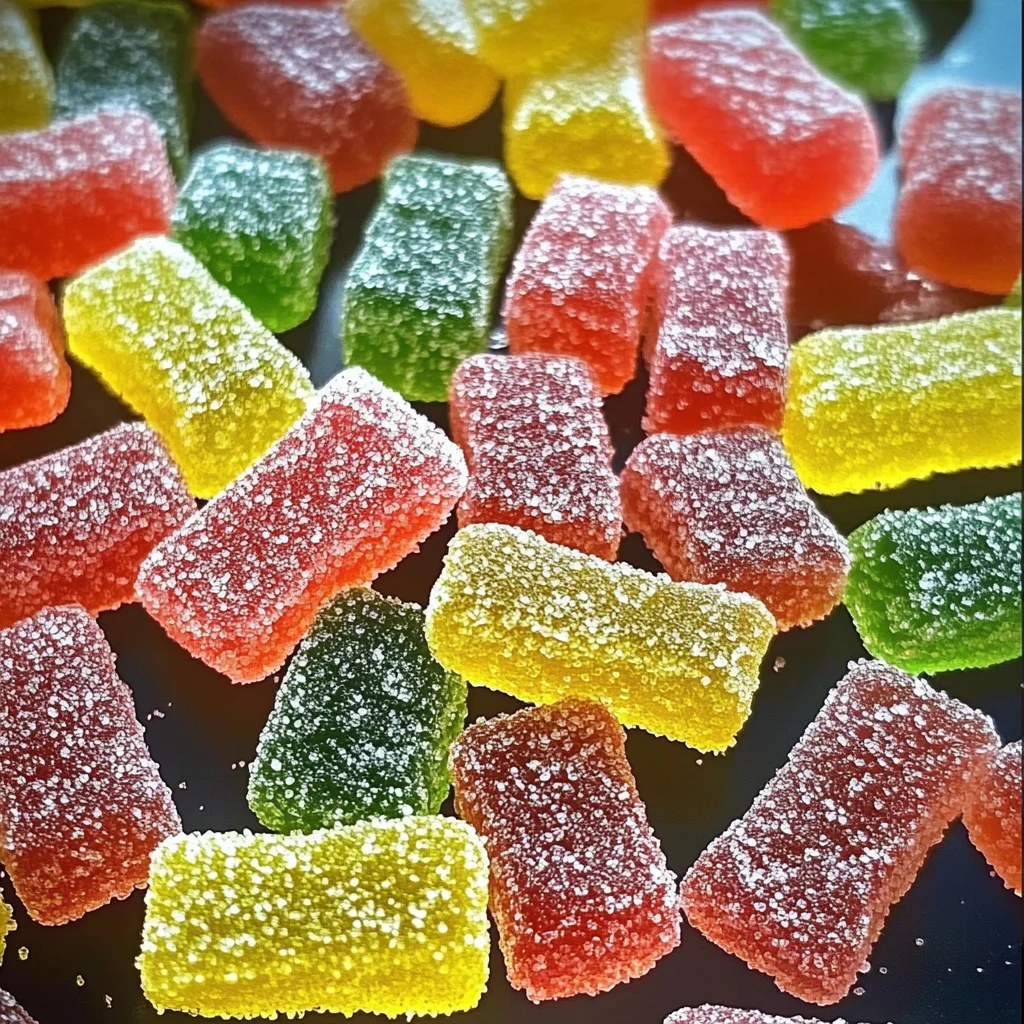
Homemade Sour Patch kids
Homemade Sour Patch kids are a delightful treat that combines fruity flavors with a perfect chewy texture. These candies are not only fun to make, but they also allow you to customize flavors and shapes for any occasion. Ideal for parties, movie nights, or simply satisfying your sweet tooth, this recipe stands out because it uses natural ingredients and avoids artificial additives.
Why You’ll Love This Recipe
- Customizable Flavors: You can experiment with different fruit juices for a variety of tasty combinations.
- Fun Activity: Making these candies is a great way to spend time with family or friends in the kitchen.
- Natural Ingredients: Using pectin and fresh juices means you can enjoy delicious candies without preservatives.
- Perfect for Gifting: Package them up nicely, and they make thoughtful homemade gifts for friends and loved ones.
- Easy to Store: These candies can last for weeks when stored properly, making them a convenient treat.
Tools and Preparation
Before diving into the recipe, gather the necessary tools for an efficient candy-making experience. Having everything on hand will make the process smoother and more enjoyable.
Essential Tools and Equipment
- Candy molds
- Small saucepan
- Syringe or dropper
- Mixing bowls
- Whisk
Importance of Each Tool
- Candy molds: These are essential for shaping your gummies into fun forms. They help ensure even sizing and consistent results.
- Small saucepan: A compact size is ideal for heating small batches of candy mixtures without waste.
- Syringe or dropper: This tool allows you to fill molds precisely, ensuring each piece is perfectly formed.
Ingredients
To create these delicious Homemade Sour Patch kids, you’ll need the following ingredients:
For the Sour Coating
- 1/2 Cup of Granulated Sugar
- 1 TBSP of Citric Acid
For the Candy Base
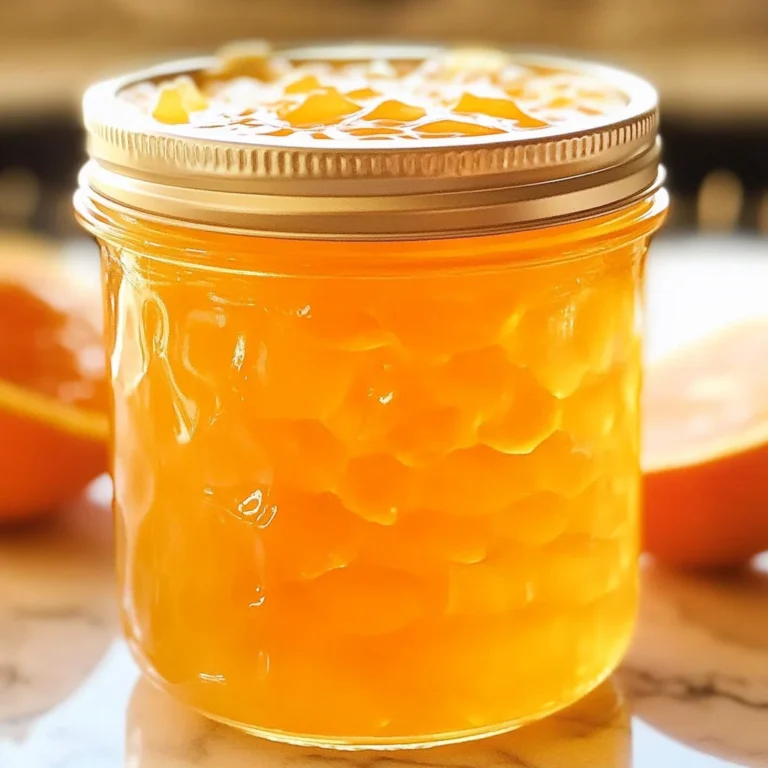
- 4 Tbsp of Fresh Squeezed Lemon or Lime Juice
- 3 Tbsp of Pectin
- 5 Tbsp of Granulated Sugar
- 2 Tbsp of Water + 1 Tbsp of Unflavored Gelatin
- 1 Tbsp of Water
- 1/8 Tsp of Salt
- 4 Tbsp of Fresh Fruit Juice
- 3 Tbsp of Pectin
- 3 Tbsp of Granulated Sugar
- 1 Tbsp of Water
- 2 Tbsp of Cold Water + 1 Tbsp of Unflavored Gelatin
How to Make Homemade Sour Patch kids
Step 1: Bloom the Gelatin
- Combine the unflavored gelatin powder with 2 tablespoons of water. Stir until mixed well and let it bloom for 5 minutes.
Step 2: Heat Juice and Sugar
- In a small saucepan over medium-low heat, combine fresh fruit juice and granulated sugar. Stir occasionally until it begins to simmer.
Step 3: Add Pectin
- Once simmering, add pectin to the mixture. Stir thoroughly until combined, then bring it to a boil.
Step 4: Mix in Gelatin
- When boiling gently, add the bloomed gelatin to the mixture. Stir continuously until fully dissolved.
Step 5: Cook Until Thickened
- Allow the mixture to cook until it thickens slightly. Then turn off the heat.
Step 6: Fill Molds
- Using a syringe or dropper, carefully squeeze the solution into your candy molds.
Step 7: Set in Fridge
- Place filled molds in the fridge for about 2–3 hours to set properly.
Step 8: Dehydrate Candies
- Once set, remove candies from molds. Leave them uncovered in the fridge overnight to dehydrate slightly, enhancing their chewiness.
Step 9: Prepare Sour Coating
- In a small bowl, mix together granulated sugar and citric acid.
Step 10: Coat Candies
- Toss your candies in this sour mixture until evenly coated. Shake off any excess coating before serving.
These homemade candies are not just delicious; they’re also a fun project perfect for sharing with others! Enjoy your creation!
How to Serve Homemade Sour Patch kids
Homemade Sour Patch kids are a delightful treat that you can enjoy in various ways. Whether you’re hosting a party or simply indulging in a sweet snack, here are some fun serving ideas.
Snack Bowls
- Create colorful snack bowls by filling them with your homemade Sour Patch kids. This makes for an eye-catching centerpiece at gatherings.
Movie Night Treats
- Serve these candies during movie nights as a fun alternative to traditional popcorn. Their chewy texture and sour flavor complement your favorite films perfectly.
Party Favors
- Package your homemade Sour Patch kids in small bags or jars as party favors. Guests will appreciate the personal touch and delicious treat to take home.
Ice Cream Topping
- Crush the candies and sprinkle them over ice cream for a tangy twist. Their texture adds crunch, while the sourness enhances the sweetness of the ice cream.
Baking Ingredient
- Incorporate chopped Sour Patch kids into cookie or brownie batter for an unexpected burst of flavor. The chewy candies will provide a delightful surprise in every bite.
How to Perfect Homemade Sour Patch kids
Making the perfect batch of Homemade Sour Patch kids involves a few key techniques. Here are some tips to ensure your candies turn out just right.
-
Use Fresh Juice: Freshly squeezed juice enhances flavor significantly compared to store-bought alternatives. Choose ripe fruits for the best results.
-
Measure Accurately: Precision is crucial when measuring ingredients, particularly pectin and sugar, to achieve the desired texture and taste.
-
Control Temperature: Keep an eye on the cooking temperature; too high can scorch your mixture, while too low may not activate the pectin properly.
-
Allow Time to Set: Letting your candies set overnight ensures they develop a firmer chew. Patience pays off in candy making!
-
Experiment with Flavors: Feel free to mix different fruit juices for various flavors. Combining citrus juices can create an exciting blend that’s both sour and sweet.
-
Store Properly: Keep your candies uncovered in the fridge to prevent sogginess. An airtight container may trap moisture, ruining their texture.
Best Side Dishes for Homemade Sour Patch kids
Pairing side dishes with your homemade treats can enhance your overall snacking experience. Here are some suggestions that complement their unique flavor profile.
-
Fruit Salad: A refreshing mix of seasonal fruits balances the sweetness of the candies while adding freshness.
-
Cheese Platter: Offer a selection of cheeses like sharp cheddar or creamy brie, which contrast nicely with the sourness of the candy.
-
Popcorn: Lightly salted or flavored popcorn serves as a crunchy counterpoint to the chewy texture of Sour Patch kids.
-
Veggie Sticks with Dip: Crisp vegetable sticks paired with hummus or ranch dip create a healthy snack option that offsets sugary treats.
-
Chocolate-Covered Pretzels: The sweet and salty combination pairs well with sour candies, providing diverse flavors in one snack session.
-
Trail Mix: A mix of nuts, seeds, and dried fruits offers crunch and nutrition alongside your candy treats for balanced snacking.
-
Mini Cupcakes: Sweet mini cupcakes topped with frosting make an indulgent companion to your fruity gummies for dessert lovers.
-
Frozen Yogurt Parfaits: Layer yogurt with granola and fresh fruit for a light dessert that complements the tangy flavors of Sour Patch kids perfectly.
Common Mistakes to Avoid
Making homemade sour gummy candies can be a fun experience, but avoiding common mistakes will ensure your Homemade Sour Patch kids turn out perfectly.
- Not blooming the gelling agent: Failing to bloom the unflavored gelatin properly can lead to clumpy candies. Always let it sit in water for about 5 minutes before mixing.
- Overheating the mixture: Cooking the candy mixture at too high a temperature can cause it to seize. Maintain medium-low heat and stir gently to prevent this.
- Skipping the chilling time: Removing the candies from molds too early will result in a soft texture. Allow them to set in the fridge for at least 2-3 hours.
- Not coating evenly: If you don’t toss the candies thoroughly in the sugar and citric acid mixture, some may taste bland. Make sure each piece is well-coated for that perfect sour kick.
- Storing improperly: Covering your candies while they are still wet can make them soggy. Store them uncovered in the fridge for better texture.
Storage & Reheating Instructions
Refrigerator Storage
- Store your Homemade Sour Patch kids in an airtight container.
- They can last up to 1 week in the refrigerator if kept dry.
Freezing Homemade Sour Patch kids
- For longer storage, freeze your candies in a freezer-safe bag or container.
- They will remain good for up to 3 months; just thaw at room temperature before enjoying.
Reheating Homemade Sour Patch kids
- Oven: Preheat to low settings; place candies on a baking sheet for a few minutes to soften slightly.
- Microwave: Heat in short intervals of 5-10 seconds, checking frequently to avoid melting.
- Stovetop: Place candies in a pan over low heat, stirring gently until softened.
Frequently Asked Questions
Here are some common questions about making Homemade Sour Patch kids.
Can I use other fruit juices?
Yes! You can experiment with different fruit juices like orange or grape juice for unique flavors.
How do I achieve a firmer texture?
To get firmer candies, leave them uncovered in the fridge overnight after removing from molds.
Can I customize my Homemade Sour Patch kids?
Absolutely! Feel free to mix different fruit juices or adjust sugar levels to suit your taste preferences.
What is the best way to store these candies?
Keep them in an airtight container in the fridge or freeze them for long-term storage. Just remember not to cover them while they are still wet!
Final Thoughts
Making your own Homemade Sour Patch kids is not only satisfying but also allows you to customize flavors and textures. Try experimenting with various fruit juices or adjusting the sourness level by changing sugar and citric acid amounts. Enjoy this delightful treat with friends and family!
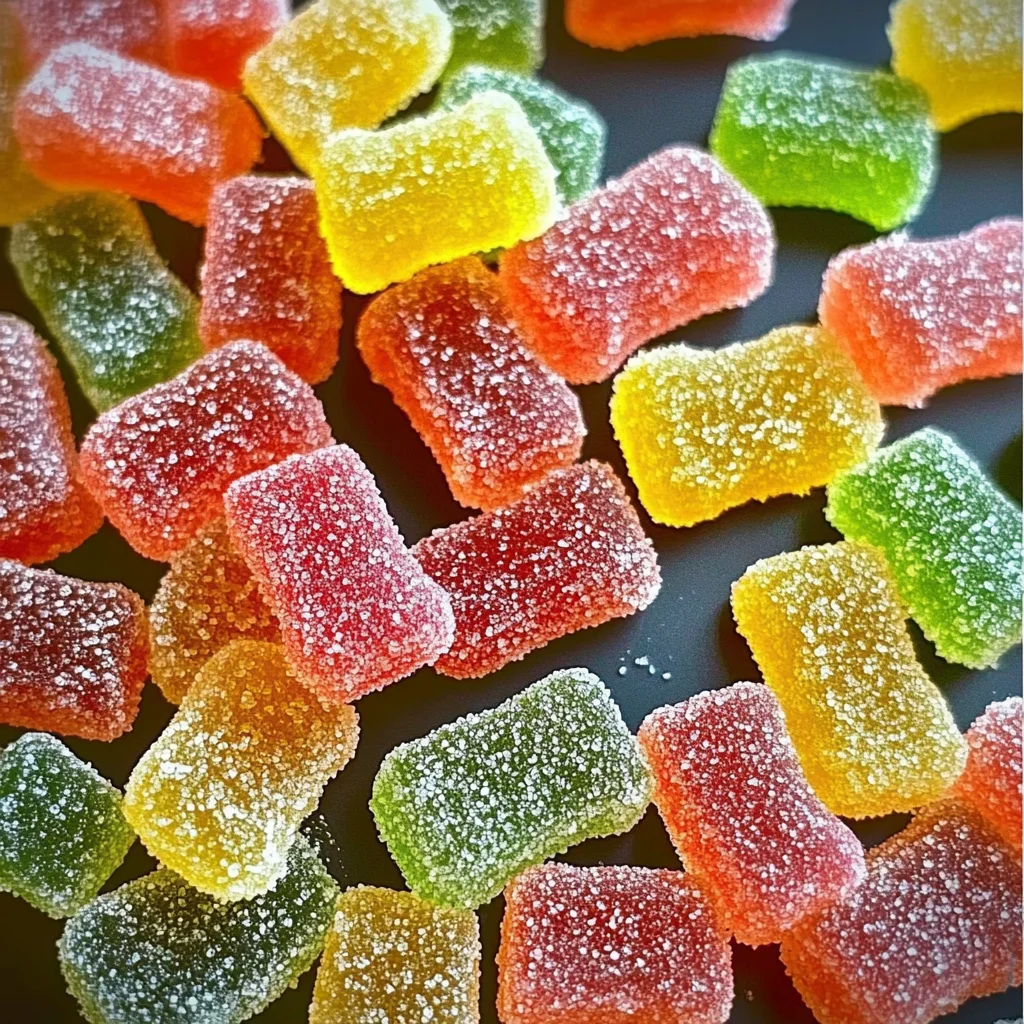
Homemade Sour Patch kids

Indulge in the sweet and tangy delight of Homemade Sour Patch kids! These chewy gummy candies are a fun project that allows you to mix and match vibrant fruit flavors, making them perfect for parties, movie nights, or as thoughtful gifts. With a simple recipe that utilizes fresh fruit juices and pectin instead of artificial additives, you can enjoy a guilt-free treat that will please both kids and adults alike. The sour coating adds an exciting twist that elevates these candies from ordinary to extraordinary. Easy to store, they’re sure to become a favorite snack in your home!
- Prep Time: 15 minutes
- Cook Time: 10 minutes
- Total Time: 25 minutes
- Yield: About 20 servings 1x
- Category: Desserts
- Method: Candy making
- Cuisine: American
Ingredients
- 1/2 cup granulated sugar (for sour coating)
- 1 tablespoon citric acid (for sour coating)
- 4 tablespoons fresh squeezed lemon or lime juice
- 3 tablespoons pectin
- 5 tablespoons granulated sugar (for candy base)
- 1 tablespoon unflavored vegan gelatin
- Fresh fruit juice of your choice
Instructions
- Bloom the unflavored vegan gelatin by combining it with 2 tablespoons of water; let sit for 5 minutes.
- In a small saucepan over medium-low heat, combine fresh fruit juice and 5 tablespoons of granulated sugar. Stir until simmering.
- Add pectin to the mixture, stirring well until combined, then bring it to a boil.
- Mix in the bloomed vegan gelatin until fully dissolved.
- Cook until slightly thickened, then turn off the heat.
- Fill candy molds with the mixture using a syringe or dropper.
- Refrigerate for 2–3 hours until set.
- Remove candies from molds and leave uncovered in the fridge overnight to enhance chewiness.
- Coat candies in a mixture of granulated sugar and citric acid before serving.
Nutrition
- Serving Size: 5 pieces (30g)
- Calories: 100
- Sugar: 22g
- Sodium: 5mg
- Fat: 0g
- Saturated Fat: 0g
- Unsaturated Fat: 0g
- Trans Fat: 0g
- Carbohydrates: 25g
- Fiber: 0g
- Protein: <1g
- Cholesterol: 0mg